Basic bookbinding
BASIC BOOKBINDING // If you're into all things handmade and love notebooks of all sorts, then this is something you should try out. It's a very basic technique which means EVERYONE can do this!
MATERIALS NEEDED // Tape (i.e. masking tape), various paper to use as book pages, something sturdy and colourful for the cover.
CHOOSE PAPER // Decide what size you want your book to be, and cut or shred the various papers into the same size as the covers.
DECIDE ORDER // Place the papers in whatever order you see fit.
PUTTING THE BOOK TOGETHER // Turn the cover page and place the next page beside it.
Tape the pages together...
...and flip the taped page. Place the next page beside it and tape them together. Repeat these steps until all the pages are attached!
This is pretty much what it will look like. As you can see below, the back needs to be fixated.

TAPING THE BACK // Close the book and turn it over; the back of it facing you.
Place a tape along the side.
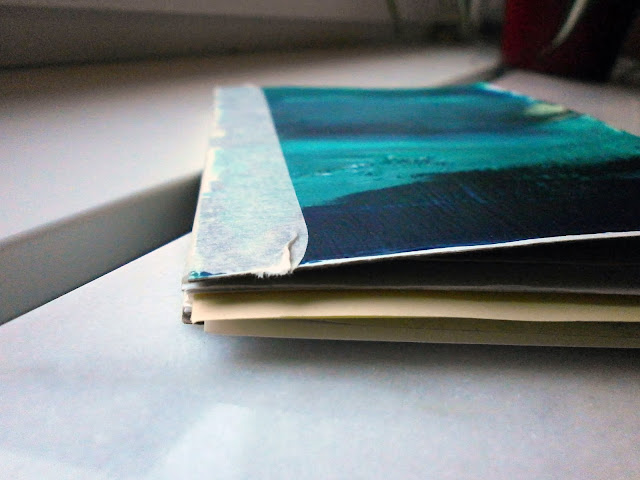
This is what it looks like up close. Remove the excess tape in the ends (the length of the tape should be just about the length of the book) and fold the tape over on both sides of the book, while the book is still closed. The last part is very important, since it will be difficult to close the book if you tape the back while the book is opened.
Taping the back makes the book a bit sturdier and also gives it a more finished look.
FINISHED BOOK // Now fill your book with drawings, poems, recipies or random journaling!
PS. For those of you who finds this method too blunt or childlike; more sophisticated bookbindning techniques will be shown here later on!


Comments
Post a Comment